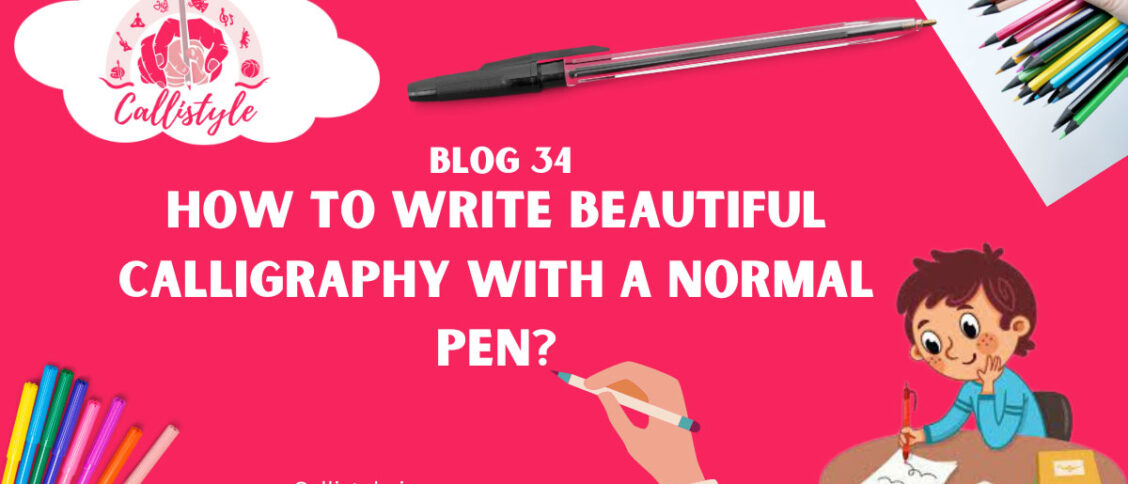
How to Write Beautiful Calligraphy with a Normal Pen?
Calligraphy is the art of beautiful handwriting. Traditionally, calligraphers use special nibs and inks to create elegant letterforms and designs. But did you know you can create gorgeous calligraphy using normal everyday pens? It just takes some practice and technique. In this beginner’s guide, I’ll walk you through everything you need to start writing calligraphy with normal pens.
Why Write Calligraphy with Normal Pens?
Special calligraphy pens and inks can be expensive and intimidating for beginners. Normal pens are affordable, easy to find, and great for practicing the basics. Here are some of the benefits of using regular pens for calligraphy:
- Cost-effective – No need to invest in expensive supplies when starting out. Normal pens are cheap and easy to find.
- Portable – Ballpoint and gel pens are small and convenient to take anywhere. You can practice calligraphy on the go.
- Variety – You probably already have pens of different sizes and weights at home. This allows you to play with thick and thin strokes.
- Less messy – Normal pens do not require constant dipping and cleaning like traditional calligraphy nibs. Less hassle!
- Builds foundation – Mastering control and technique with everyday pens translates well when you eventually try calligraphy dip pens.
What Pens Work Best?
You can use any type of pen for calligraphy, but some work better than others. Here are my top recommendations:
- Ballpoint pens – Inexpensive and readily available. Look for ones with a bold point for thick lines. The friction and low ink flow make ballpoints less than ideal, but good for practicing basic strokes.
- Gel pens – Gel ink glides smoothly across paper. Good for learning script fonts. Choose one with a point that allows variation in line width.
- Felt tip pens – The firm but flexible tip allows for thin upstrokes and thick downstrokes. Great for modern and casual calligraphy styles. Use brands like Sharpie and Crayola.
- Fountain pens – A great step up from ballpoints! The ink flows freely, letting you create elegant letterforms. Use ones with nibs that flex for thick/thin variation.
I suggest starting with a set of ballpoint, gel and felt tip pens in various sizes. This gives you options to discover what works for your personal calligraphy style.
Book a DemoSteps to Writing Calligraphy with a Normal Pen
Writing calligraphy takes patience and practice, but you’ll be amazed at what you can create with an everyday pen! Follow these steps to start:
1. Choose Your Pen and Paper
Pick a pen that feels comfortable and allows you to easily control the thickness of your strokes. I recommend starting with a ballpoint or gel pen. Choose smooth paper that won’t catch and snag the pen tip.
2. Improve Your Grip
Hold the pen gently between your thumb and index finger. Let it rest against your middle finger for support. Keep your grip light so the pen can glide across the paper.
3. Perfect Your Angle
Hold the pen at a consistent 30-60 degree angle relative to the paper. A shallower angle gives you thicker strokes, while a steeper angle makes thinner hairlines.
4. Practice Basic Strokes
Start with simple individual strokes: upwards thin lines, downwards thick lines, circles, and curves. Keep your angles consistent and apply even pressure.
5. Connect Letters with Movement
Now try joining letters with basic connecting strokes like diagonals, loops, and arcs. Let each stroke flow into the next without lifting your pen.
6. Find Your Rhythm
Connecting multiple letters takes rhythm. Move slowly and deliberately at first. As you gain confidence, increase your speed while keeping angles and pressure consistent.
7. Add Flourishes and Embellishments
After mastering the basics, have fun with flourishes and decorations! Try swirls, banners, leaves, borders and other embellishments.
8. Explore Versatile Pen Angles
Adjusting your pen angle allows for amazing versatility with line width and style. Try different angles within one piece for dramatic effects.
9. Practice, Practice, Practice!
Like any art, beautiful calligraphy takes patience and persistence. Set aside 15-30 minutes daily to repetition and refine letters. You’ll be amazed at your progress.
Picking Your First Calligraphy Font
Once comfortable with basic strokes and ink flow, it’s time to learn an actual script font! Here are 3 great options for calligraphy beginners:
Print Letters
Also called manuscript or block letters, these have straight lines and 90 degree angles. Simple and legible, print letters help you perfect keeping angles and edges clean. They’re a subtle intro to calligraphy.
Italic Cursive
With a flowing, informal style, italic cursives are beginner favorites. Letters slant gently to the right and have tapered thin strokes and thick verticals. Try the simple Getty-Dubay Italic alphabet.
Copperplate
The quintessential calligraphy font, with delicate hairlines and dramatic thick downsweeps. Copperplate looks intricate, but starts with basic oblique strokes. Learn the structured yet lively letterforms.
Common Technique Mistakes
Calligraphy takes practice to master. Be patient with yourself and avoid these common beginner mistakes:
- Inconsistent angles – Make sure your pen angle stays the same across and within letters. This keeps edges smooth.
- Too much pressure – Let the pen glide lightly across paper. Don’t press hard or drag the nib.
- Shakiness – Relax your grip and keep movements slow and smooth. Rest your hand on the paper for stability.
- Illegibility – If you can’t read your own writing, slow down! Legibility comes before embellishments.
- Skipping connections – Lift your pen only at the end of a word, not within. Practice stroke connections.
- Drips and smudges – Try a faster-drying gel or rollerball ink. Gently blot any smudges immediately.
DIY Calligraphy Projects to Try
Now for the fun part – putting your calligraphy skills to artistic use! Here are 10 DIY calligraphy projects to try with your everyday pens:
- Handwritten lyrics for a song you love
- Quotes, poems or bible verses on decorative paper
- Wedding or party invitations and envelopes
- Personalized holiday cards and gift tags
- Motivational mantras on wood signs and canvases
- Calligraphy envelope addressing for special mail
- Lake and ocean rocks with inspirational words
- Calligraphy bookmarks and bookplates
- DIY wall art with calligraphed inspirational quotes
- Place cards and menu cards for dinner parties
The possibilities are endless when you learn the basics of calligraphy! Advanced calligraphers move on to formal scripts, gilding, and flourishing. But start simple with a normal pen and paper – then let your creativity run wild.
I hope this beginner’s guide gives you the inspiration and confidence to dip your toe into the wonderful world of calligraphy. With a little determination and regular practice, you’ll be producing elegant lettering in no time. Happy calligraphing!
Check our Calligraphy course details